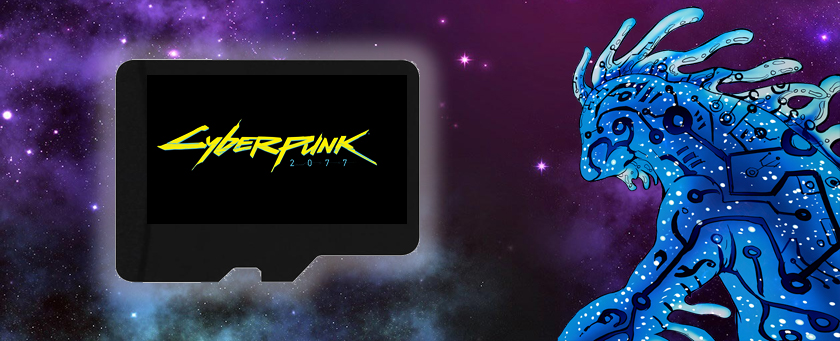
Make PC Game Cartridges
Gaming consoles like the Nintendo Switch and Sony Playstation Vita/TV are newer cartridge based media systems. There cartridges are pretty close in size to a normal SD card. I thought it would be fun to explore the possibilities of making our own game cartridges for the PC.
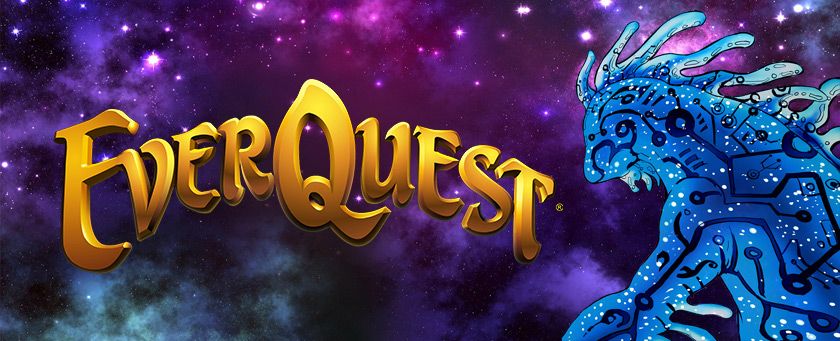
EverQuest Single Player
Ever since I was young I wanted to play a single player version of EverQuest. Well today, I did just that, and I’m going to show you how you can too!
Diablo 1 Xbox Controller & Keyboard Mod
When I was trying to play Diablo 1 on my GPD Win I thought there has to be a way to incorporate controller support, similar to the Playstation 1 port. I remembered that there was an open source reverse engineered project for Diablo 1 called Devilution, so I figured that would be a good starting place for this project. After forking the repo, I started by getting familiar with the code base and creating new functions for how I would imagine this system working.
Windows 95, 98, XP, Vista And 7 Themes For Windows 10
The zip packages on this page have assets and documents for theming a Windows 10 computer to look like an older operating system. Watch the YouTube video and read the documentation provided to get an understanding of how this process works. If at any time you want to undo the theme, uninstall Classic-Shell and run the Uninstall-Theme.bat file.
Play Original Xbox Games On Your XBox 360 Unofficial Hard Drive
Lets say you purchased an unofficial xbox 360 hard drive and you want to play your original Xbox games on your Xbox 360. Well, you can’t without this program and a special partition file that allows you to create the data required for playing these games!
EverQuest – PC Trainer
Currently for EQEmu servers; Titanium, Mac, RoF, etc. game clients.

Getting Your Dreamcast Online, Without A Broadband Adapter!
Few people these days have dial up internet. Most everyone has ethernet cables with broadband, which leaves older technology behind. Even with the addition of the broadband adapter, you will not be able to play some games that require the dial up modem. Luckily there is a new developer out there to bring the Dreamcast back online with the use of a Raspberry Pi!
Netflix Site
This is a PHP web program you can use to make your own Netflix look-a-like website. It runs completely on PHP, no database setup required. All information and photos are pulled from IMDb.
How to Minimize Discord on Startup
Here’s a batch file that will minimize Discord on startup. There is a small setup needed to do this though.
Clan Mod - The Jedi Knight Mod
From my early days as a developer, I loved playing the Jedi Knight series. Specifically Academy and Outcast. When playing Jedi Outcast with my new founded clan RoAR (Rebels of Another Realm), we found it necessary to use a mod to help us grow closer and enforce rules. At that time we used Jedi Academy mod (not the second game) that was developed by TheChosenOne. A very well developed mod, few bugs, overall a nice piece of software. Later, we moved on to Slider’s JA+ mod. Once again a nice mod, but this one was riddled with 1 hit kill bugs, and glitches galor! I had to make a better mod!